Introduction
Installation
Pre-Rigged Models
Rigging
Contact
Animation
IK Ranges
Aligning Chains
Chain Visibility
Pivoting
Motion Paths
Automatic Features
Follow Rotation
System
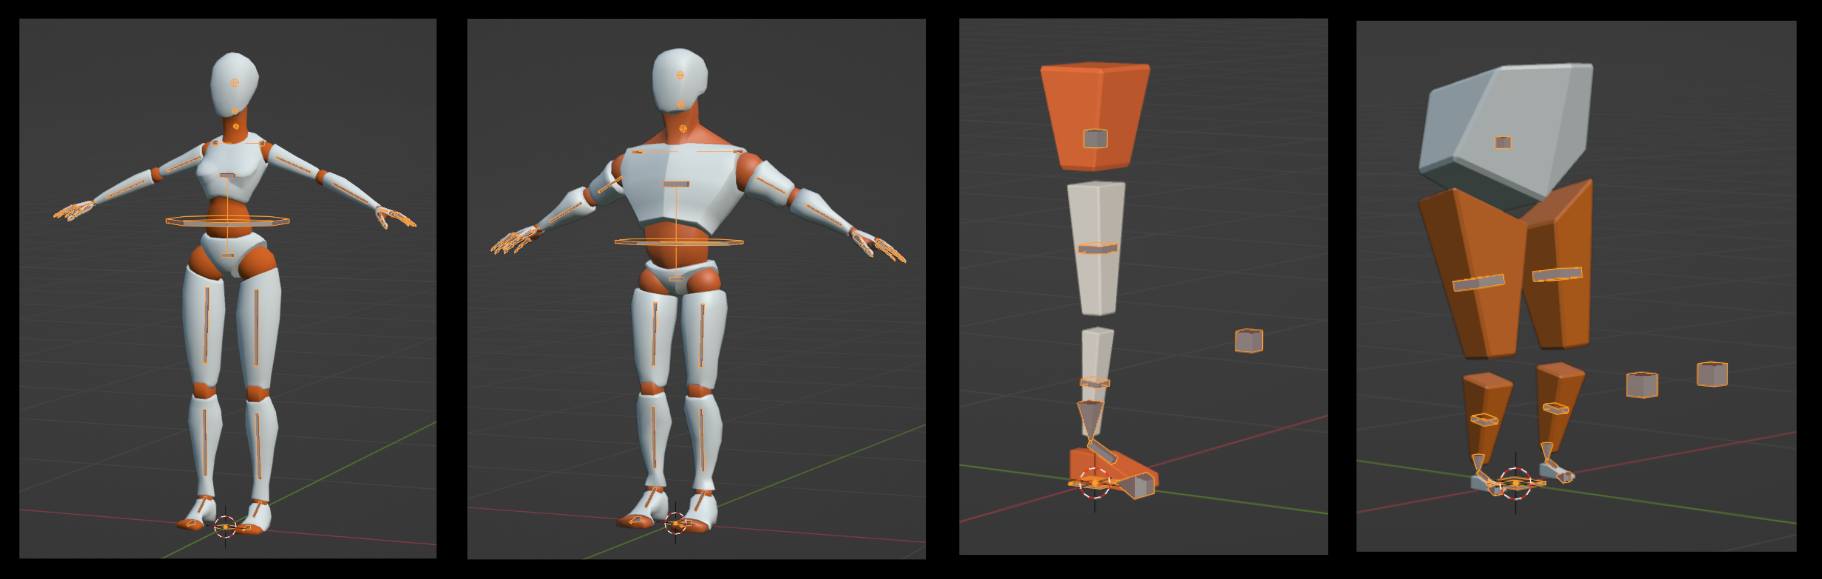
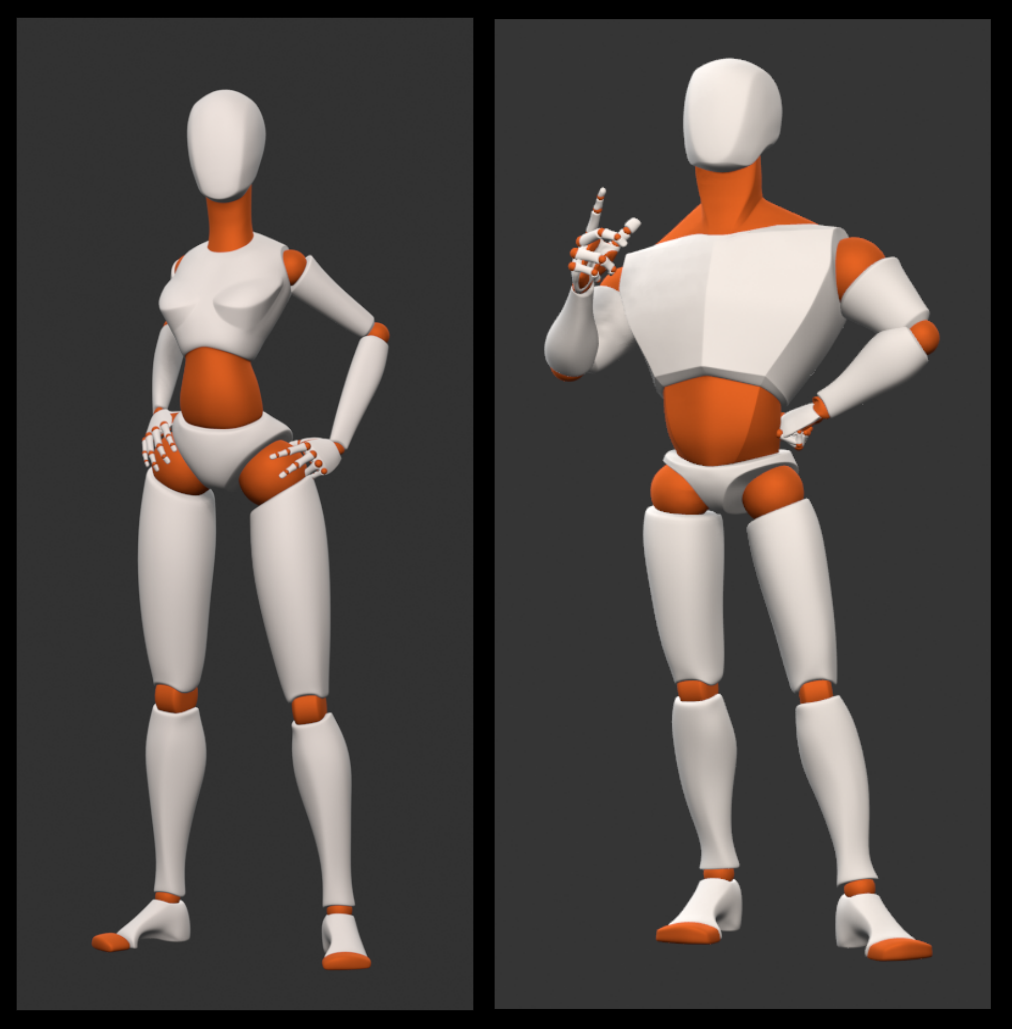
Four pre-rigged models come with the Kinematic Tool. These models are intended for prototyping, practicing, and playing, and the license for the Kinematic Tool allows you to use the models for any commercial purpose except resale and merchandising.
The limbs on these models have all been assembled with the Kinematic Tool, so you can jump right into experimenting if you aren't interesting in rigging a character on your own (make sure the Kinematic Tool is installed and checked "On" in the Add-Ons, see Installation).
There are two character models and two practice models. Each of the models come with an animation-ready file and a "deform" version (as in NOT ready for animation), which is a barebones version of the rig, so you can transplant the rig to your own character mesh and safely and easily assemble kinematic limbs using the Kinematic Tool.
I'll discuss the specifics of each of the models in a moment, but let's first talk about the similarities they all share.
The scene collections in each file are organized into two collections: "model + armature" and "scene + lights". Widgets can be found in "scene + lights". The "scene + lights" collection also contains a camera and some area lights.
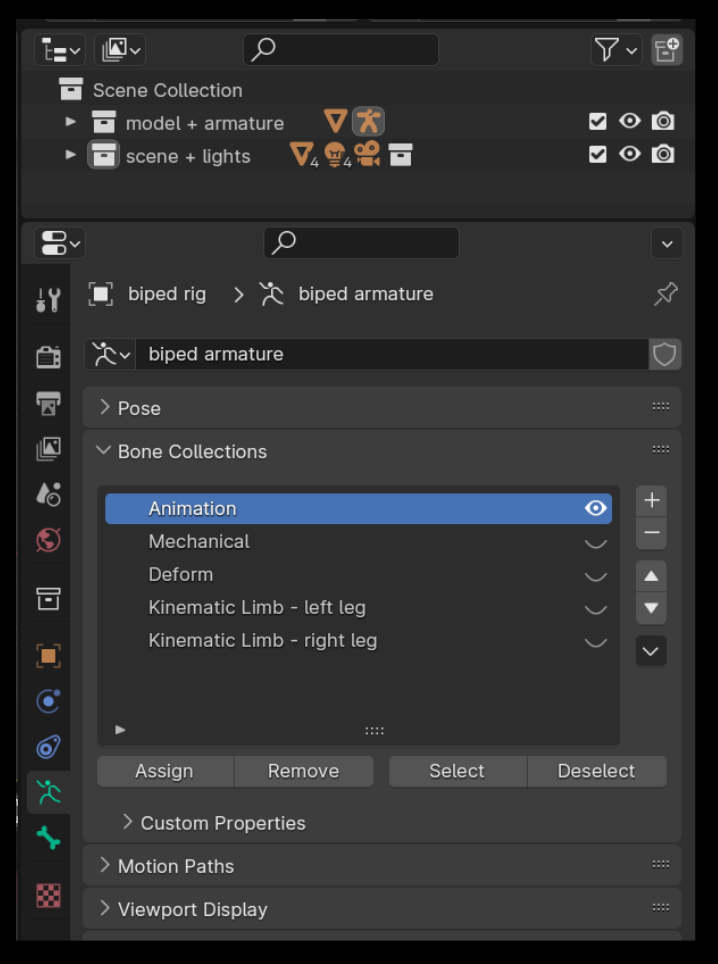
The bone collections are mostly organized into "Animation", "Mechanical", and "Deform" bones, to separate out functionality (use the Animation collection solely for animating), and the "Kinematic Limb..." collections store all the data for each of the kinematic limbs (see the Rigging section for more details).
The root bone of all the armatures is a small bone at the world origin. Over the years I shrank the visual size of the root bone because it was cluttering the viewport and stealing clicks, and I don't work with it in every animation.
The rotation mode for all the animation bones is by default set to Quaternion, but you're welcome to change it to whatever rotation mode you prefer (XYZ Euler for instance). After a mind-melting knowledge-binge, I'm a recent convert to Quaternion and I can't begin to express how powerful and boundless it is. Unlock the power!!
Auto-keyframing is turned off as a starting setting, to prevent accidentally keyframing stuff while you are first poking around with the model. I almost exclusively animate with auto-keyframing on, and to work with the Auto-features of the Kinemati Tool. I just want to point this out because it's a tiny little button that often gets overlooked until a couple of minutes of trying to figure out why poses aren't saving and keyframing (lol).
Check the Output Panel settings before rendering. Default is 30 fps and FFmpeg Video for the File Format, and MPEG-4 for the Encoding Container and No Audio in the Audio Codec. Adjust these to fit your needs.
Sometimes getting used to a new tool and experimenting with its features can be overwhelming, especially when there are a lot of extra variables to consider. The Biped & Uniped models were designed to easily practice using the Kinematic Tool and experiment with footwork and simple actions like jumping and landing.
If you're new to animating, or not yet comfortable with the Kinematic Tool, I highly encourage opening up the Uniped model and playing around with some super basic jumps until the notion of IK ranges are grasped. Once you're comfortable with using the Uniped for kinematic switching, start expirimenting with simple walks, footwork, and pivoting using the Biped model. We all gotta start with the fundamentals before adding a bunch of complexity, no need to get the ego involved!
The "body" bone of the Uniped & Biped model is a simple bone that moves the position of the legs and body. To work with the Kinematic Tool's auto-align feature, the body bone has been added to the kinematic legs (via the Edit mode "Add Bones to Limb" operator; learn more about using these features in the Automatic Features section).
The feet on the Uniped & Biped models lack a toe box, so you don't need to deal with the Follow Rotation feature that is part of the Prototypers' toe box assembly. You can still animate a lot of really awesome spins and pivots with the Biped model, even without a toe box.
The prototypers were designed as a simple solution for character animation, and for use in game engines. For glam-shots, they were designed to work with a subdivision-2 modifier, as well as without subdivision. For this reason their vertex count (before turning on the Subdivision Surface modifier) is a bit higher than I'd prefer for an ultra-optimized character model to be used in a game engine, but it's still low enough to provide a lot of play. (The m model has 7,228 vertices, the f model has 6,640 vertices.)

The animation bones that comprise the core / spine bones are pretty simple: there's a "torso control" bone which moves the entire torso. There's a "chest" bone and a "pelvis" bone which are children of the torso bone and allow for offset-rotations from the torso controller. I tend to use the torso controller to fix the position of the pelvis, then use the chest bone to twist beyond the orientation of the pelvis. The chest and pelvis bones hinge out from the waist (as though controlled by the abs and obliques). The collarbones, head, and neck bones also move with the torso controller. The collarbones directly affect the location of the base of the arms.

The toe boxes on each model and the three bones of the head & neck have a "Follow Rotation" assembly built in (see Follow Rotation to understand how this works).
The fingers are very simple and use no controllers. I was finding that controllers on the fingers were creating more work than was ideal since the fingers almost always orient to some strange positions with unique hand gestures.
To work with the Kinematic Tool's auto-align feature, the bones of the core/spine have been added to the relevant limbs (via the Edit mode "Add Bones to Limb" operator, learn more about using these features in the Automatic Features section).
Again, these models and rigs satisfy a need for very capable yet simple expressions. I'm a believer that all those extra tweak bones that you see in advanced stylized rigs aren't at all useful until you can manage and animate a simple rig with confidence. Adding all those extra variables and features will just cause more complexity and confusion until simplicity is grasped. Pretty much all human motion can be expressed with these simple Prototyper rigs.
For dealing with the twist of forearms when transplanting the rig to real-human meshes, you may need to add some interesting mechanical bones (tutorials abound online for this sort of thing) - just make sure to make these additional bones the children of the deformation bones of an assembled limb (rather than the IK or FK bones). For adding tweak bones, say for the arms, simply add new bones to the location of the tweak, make these bones the children of the deformation bones, then adjust the weights on the mesh.
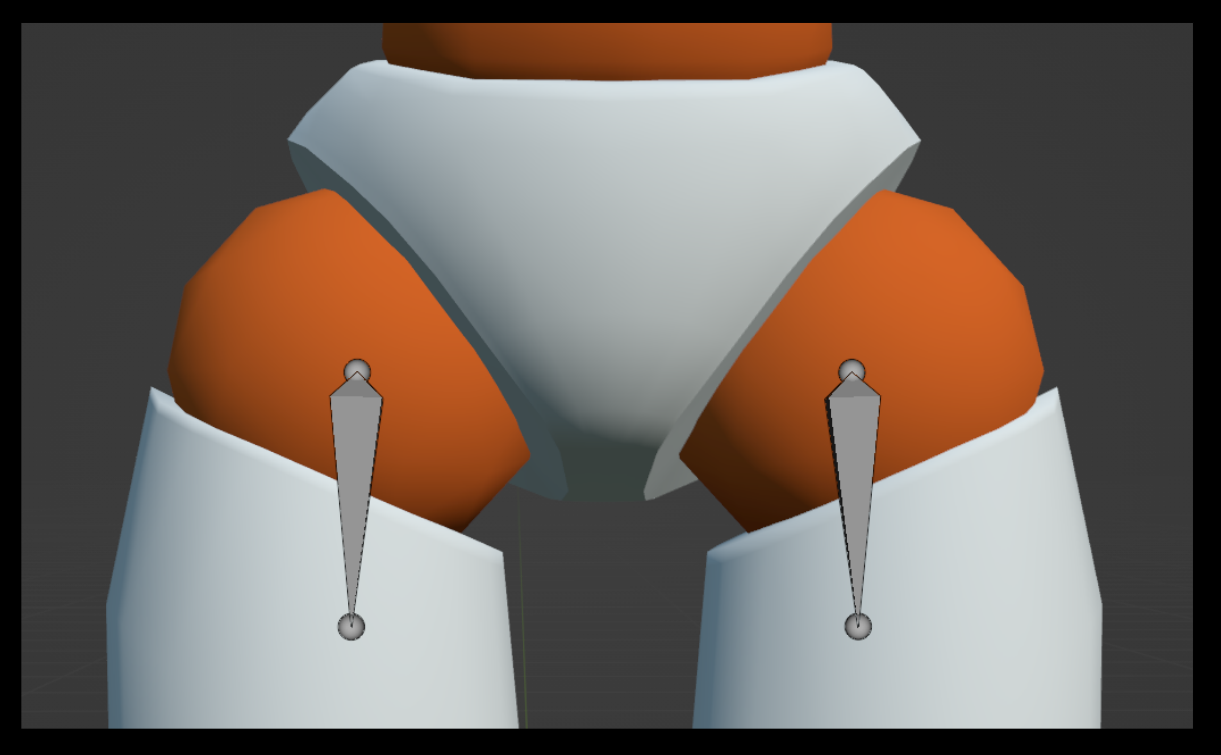
The little ball joints that represent the shoulders, elbows, and wrists, and the hips, knees, and ankles of the Prototyper meshes can be ripped out when you transplant the rig to your own mesh. These bones are particular to the purposes of the style of the Prototyper meshes, so feel free to abandon them.
To capture most studies and quick demos, I like to use the "Viewport Render Animation" setting (3D Viewport > View > "Viewport Render Animation"), since it's quick and easy, and it gets the point of the animation across. I use the regular rendering approach for special glamour purposes (Render > Render Animation). The Prototypers come with a Subdivision Surface modifier, which has its Viewport set to 0 and its Render set to 2 by default. A Render value of 2 seems to me to be the most appropriate balance for visual needs. Play with it to find out what you like.
Play with the lights and the camera you'll find in the "scene + lights" collection to setup some nice renders.
To start animating with the models and the Kinematic Tool, dive right into IK Ranges!