
Introduction
Installation
Pre-Rigged Models
Rigging
Contact
Animation
IK Ranges
Aligning Chains
Chain Visibility
Pivoting
Motion Paths
Automatic Features
Follow Rotation
System
Every limb assembled with the Kinematic Tool comes with an unrestrained, repositionable pivot point. This pivoting system was born out of a desire to animate some wildly intricate foot movements such as those that occur in shotput and discus throws and ballet spins. The system needed to provide complete freedom of movement, simplicty of design, and the flexibility to deal with move-in-place animations as well as standard movements away from the root bone.
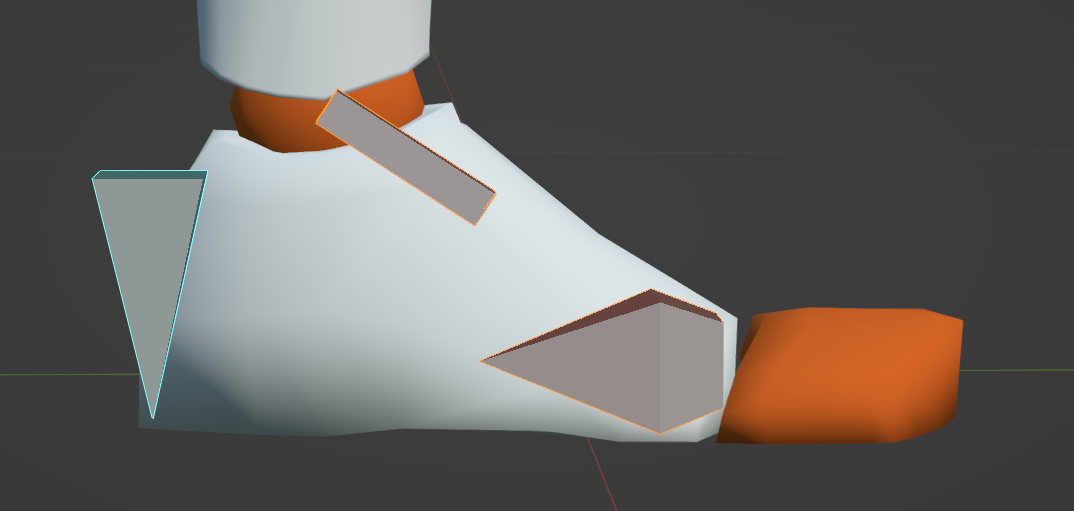
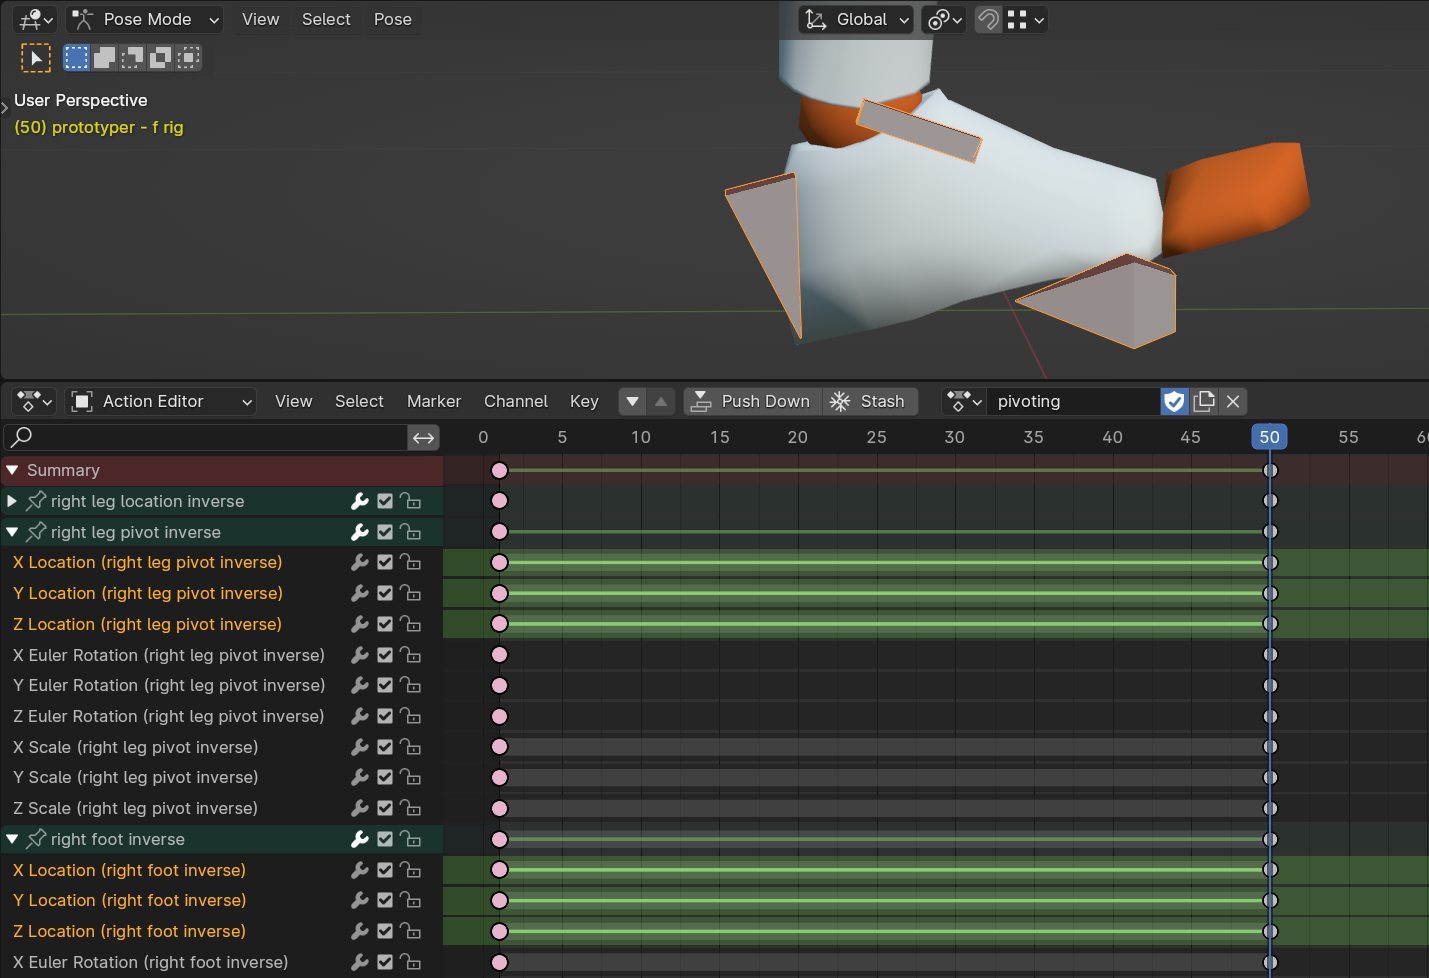
The pivoting system adds two more bones for the animator to interact with: a 'pivot bone' and a 'location bone' (there are three more non-interactive mechanical bones that are added to the system for quality-of-life and alignment between FK and IK, but that's not of conern for the animator). If we use a leg as an example limb and simplify the system, the foot bone (equivalent of the end bone) is made to be the child of the pivot bone, and the pivot bone is made to be the child of the location bone.
The absolute easiest way to grasp how the pivoting system works is through this understanding: any change of location of the foot bone should be completely done using the location bone, and any rotation of the foot bone should be completely done using the pivot bone. Any change of location for the pivot bone should be reserved for repositioning the pivot bone in relation to the foot bone.
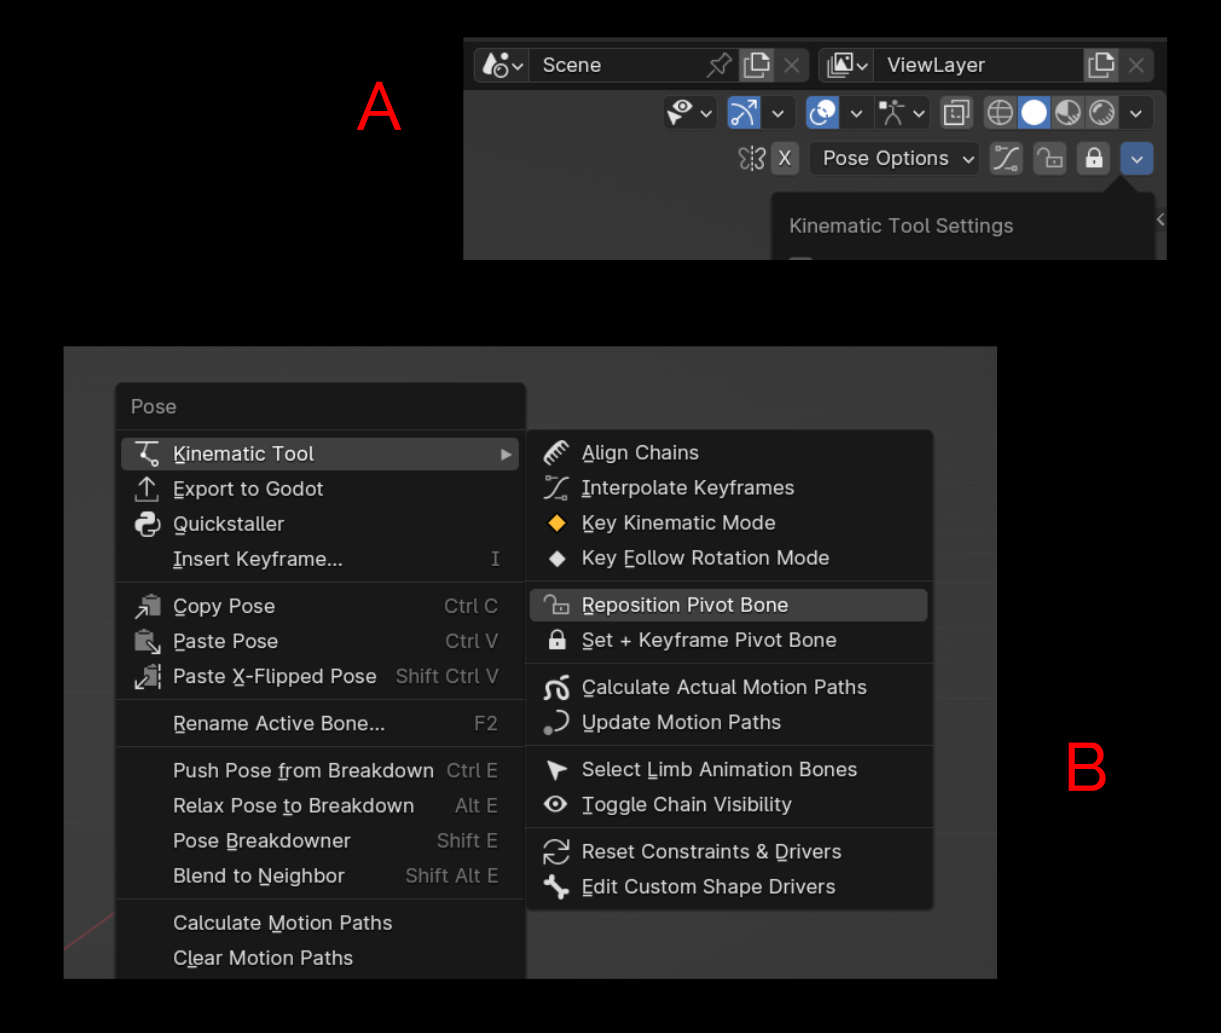
Being able to free up and reposition the pivot bone is the process of "unlocking" and "locking" the pivot bone. The first, "unlocking" the pivot bone, can be accomplished with the "Reposition Pivot Bone" operator (icon: unlocked). While in IK mode for a limb, select any bone of the limb and use the "Reposition Pivot Bone" operator. You'll notice the bone that becomes selected is the limb's pivot bone. You can immediately move it to a new position relative to the foot bone. While this temporary process is available, the foot bone and location bone are held in place. DO NOT adjust the rotation of the pivot bone during this stage.
Once you're satisfied with the position of the pivot bone, use the "Set + Keyframe Pivot Bone" operator (icon: locked). This will set/lock the pivot bone in place and keyframe the three bones: the foot bone, the pivot bone, and the location bone. These keyframes prevent the slipping and changing of the pivot bone and foot bone's position between repositions. The keyframes of the location channels of both the foot bone and the pivot bone will be interpolated to use Constant Interpolation. The same "Interpolate Keyframes" operator that is used to interpolate the kinematic switching and follow rotation keyframes also interpolates the keyframes of the location channels on the foot bone and pivot bone.
Even though the foot bone is available to be moved, rotated, and keyframed on its own, it's only given these freedoms in order to reset its orientation and location when needed (along with the pivot and locations bones' orientation and location). If the foot bone's transform channels were locked, you'd have no way to be able to reset its orientation if the need ever arises. In practice, this means you, the animator, never need to directly animate the foot bone, except to reset its position and rotation. Therefore, all of the real animation work is done by rotating the pivot bone, repositioning the pivot bone, and changing the location of the location bone.
Ultimately, the trick to getting this whole pivoting system to work smoothly is to allow the pivot bone to maintain a flow of rotation across repositions.
Now I'm going to guide you through a simple pivoting exercise. We're going to animate a change in pivoting across three sets of keyframes, as though we're creating part of a walk-in-place animation.
Open the "uniped.blend" file that comes with the tool and let's work with the model. Make sure the Kinematic Tool is installed
Let's start on a fresh plate with all the bones in their rest position. To do so: start a new action, move to frame 1, and set the kinematic mode to IK (select a bone in the leg and use the "Start IK / IK0" operator). Then select all the bones and reset their transforms so they're in rest position. (Select all the bones with hotkey "A" then use the "alt-S", "alt-G", "alt-R" hotkeys to reset the scale, location, and rotation.)
To simplify things, let's set the view to Right Orthographic (numpad 3), that way we'll just move the bones along the Y- and Z-axes. I have auto-keyframing on, for speed of use.
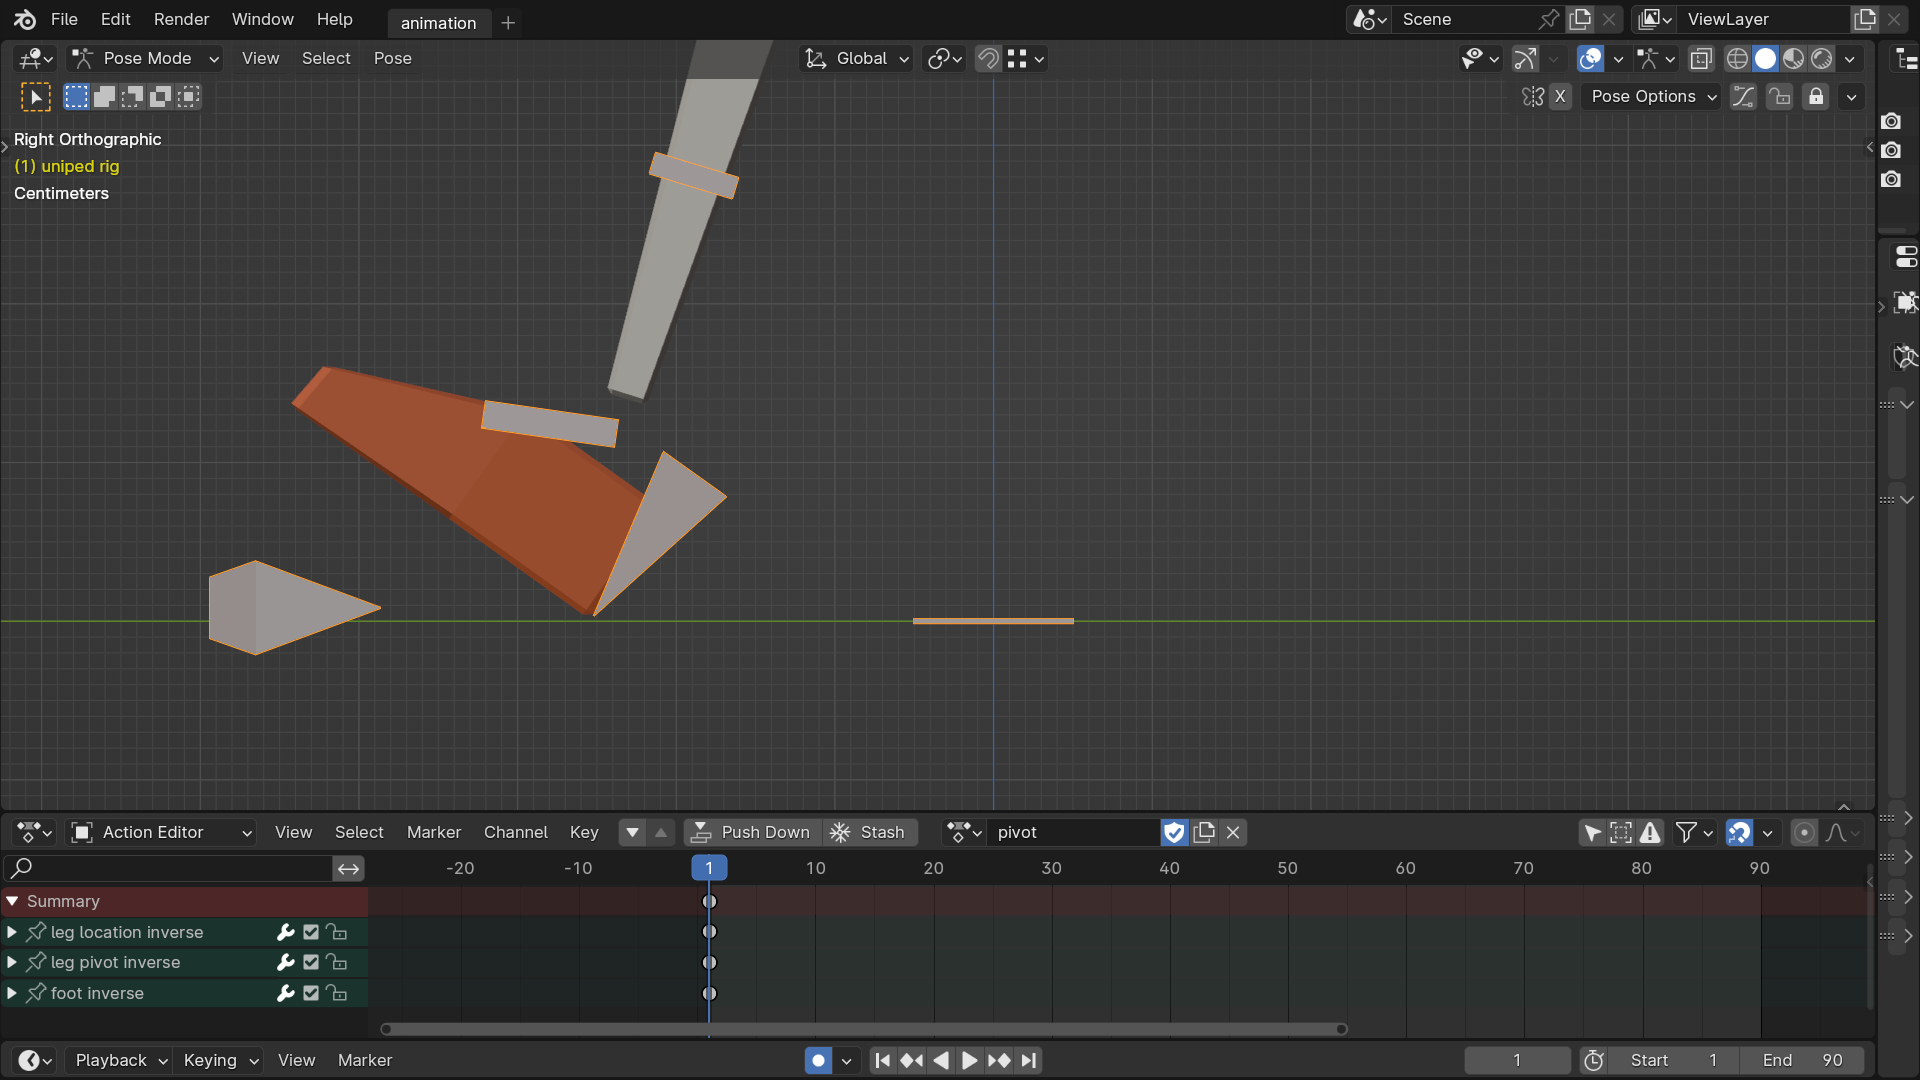
On the first frame, move the location bone along the Y-axis so it's ahead of its rest position. With the bone still selected, hit the "Reposition Pivot Bone". The pivot bone will be selected. Move the pivot bone to the base corner of the heel, then hit the "Set + Keyframe Pivot Bone" operator to set the pivot bone in place and keyframe the pivot, foot, and location bones. To finish this frame, just rotate the pivot bone back some amount.
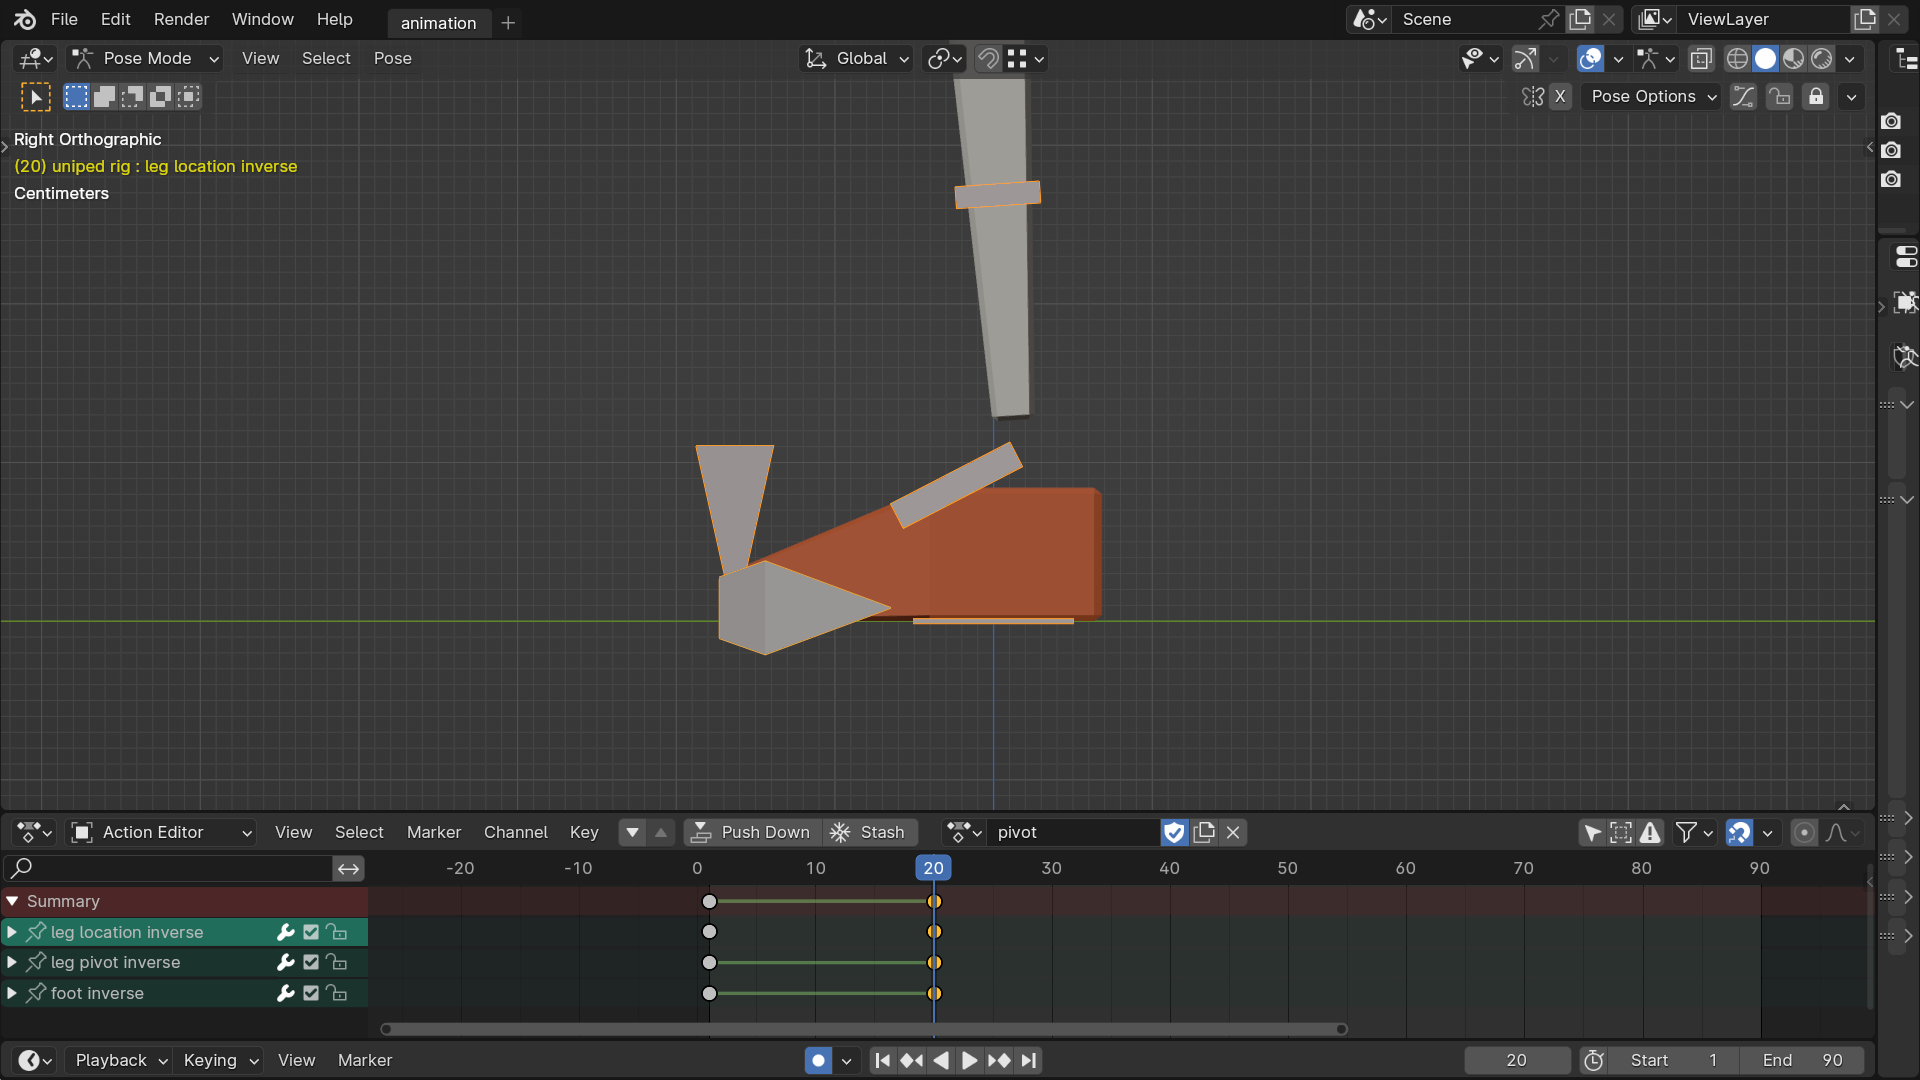
Move the current frame to frame 20.
Select the pivot bone and reset its rotation. Select the location bone and reset its location.
Now let's reposition the pivot point again to the front base of the foot. You can hide the location bone momentarily to see the front of the foot more easily. With any bone in the limb selected, again hit the "Reposition Pivot Bone" operator and move the pivot bone to the front base of the foot. Hit the "Set + Keyframe Pivot Bone" operator to set the pivot bone in place and keyframe the pivot, foot and location bones. Unhide the location bone if it's hidden.
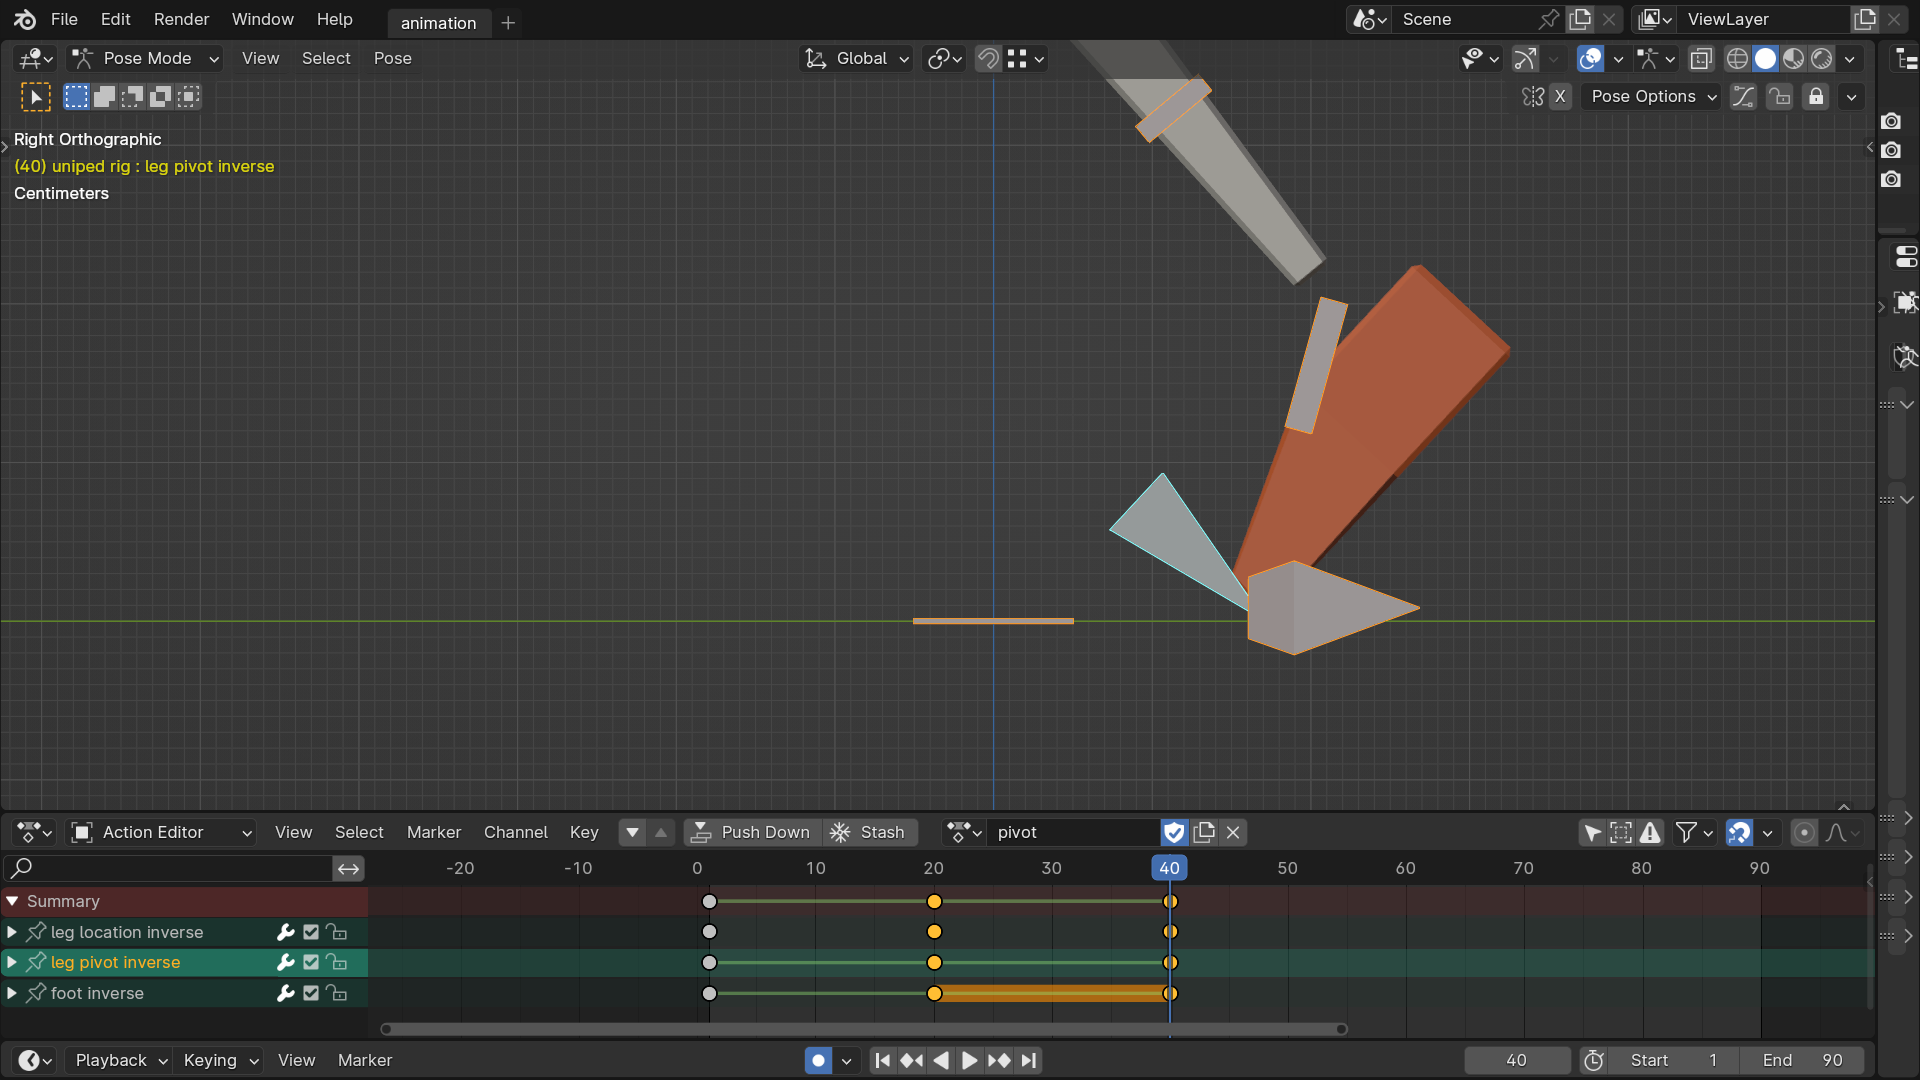
Move the current frame to frame 40.
Move the location of the location bone along the Y-axis so it's behind the rest position. Rotate the pivot bone forward so the foot hinges at the front. Use the "Set + Keyframe Pivot Bone" operator to again keyframe the three bones to cement the position.
The animation is pretty much done! Play the animation or scrub the timeline and you'll see the foot rock back and forth as it moves in place. If it's slipping at all, use the "Interpolate Keyframes" operator to update the property keyframe interpolations.
Some reminders: if ever the pivot and foot bone are slipping, be sure to use the "Interpolate Keyframes" operator to update the interpolations. If you keep running into problems, start simply and work through the repositions. The rotation needs to move smoothly between repositions, and there's no need to rotate the pivot point while repositioning the pivot point.
Next, we can see how we can easily put Motion Paths to use.